One status page works well while you have one product. Add a second product, a separate brand or a few regions with their own customers, and a single page starts to mix updates that matter to different people. With multiple status pages, you can now run a separate public status page for each of them from one Statusentry account — with one team, one bill and one login.
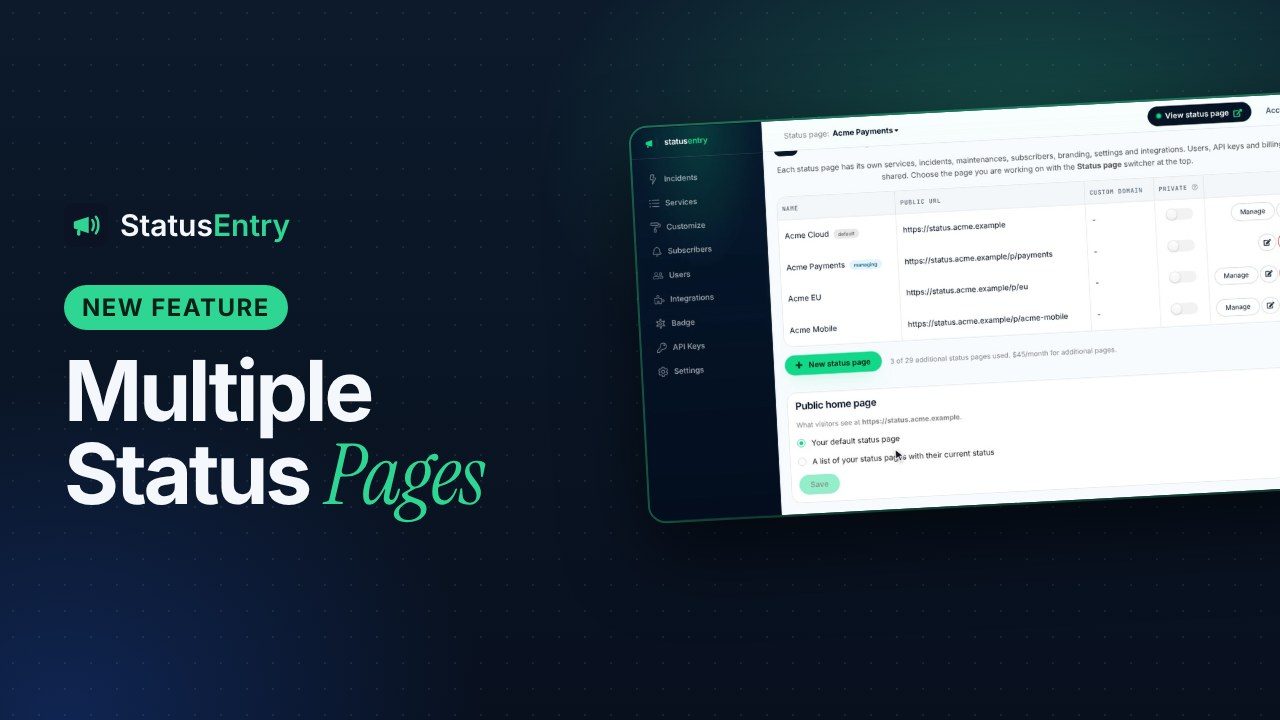
Multiple status pages are available on the Enterprise plan ($39.99/month), which includes your main page. Each additional page is $15/month, up to 29 additional pages. Every new account can try it with 2 additional pages during the 30-day Enterprise trial.
Why one status page isn't always enough
A status page is only useful if visitors can find the part that concerns them in a few seconds. That gets harder as the page grows. These are the most common reasons teams split it up:
- Several products or brands. A company that sells a CRM and a separate invoicing tool doesn't want CRM customers reading about invoice exports. Each product gets its own page, name and logo.
- Regions or data centers. Customers hosted in Europe care about the EU region, not the US one. A page per region keeps each audience's view clean, and each page can have its own address, such as
status.eu.example.com. - Platform and partner pages. An API platform may want one page for end users and another for integration partners, with different services and different wording.
- Agencies and service providers. Teams that run infrastructure for several clients can give each client a branded page while managing all of them from one dashboard.
What each status page has, and what is shared
Additional pages are not copies or filtered views of your main page. Each one is a full status page, so an incident on one page never shows up on another. Account-level things stay shared, so you don't manage separate logins or invoices. Any page can also be made private, so only your team can see it: private status pages.
| Separate on every status page | Shared across the account |
|---|---|
| Services and service groups | Team members and roles |
| Incidents and scheduled maintenance | API keys |
| Email, Slack and webhook subscribers | Plan, billing and invoices |
| Logo, favicon, header text and page settings | Incident templates |
| Integrations (Slack, X, email, webhook) | Usage quotas (subscribers, monitoring checks, AI refinements) |
| Endpoint monitors | — |
| Custom domain | — |
| Visibility: public, or private to your team | — |
How it works
Create a page
Open Status Pages in the admin panel and add a page with a name and a short path. The new page starts with the main page's settings — subscription options, links, support email and display settings — so you don't configure everything twice. Header text, description and custom domain start empty, because those are usually different per page.
Switch between pages
A page switcher at the top of the dashboard selects the page you're working on. Services, incidents, maintenance, subscribers, integrations, monitors and customization all follow the selected page, so the dashboard works exactly as it did before — just for the page you picked.
Give every page an address
Each additional page is served at yourcompany.statusentry.com/p/<path>, for example /p/api or /p/eu. Paths use lowercase letters, digits and hyphens. A page can also have its own custom domain with a managed SSL certificate, such as status.yourproduct.com, set up the same way as the custom domain of your main page.
Every page is server-rendered with its own title, description and sitemap entry, so each one can be found by search engines for its own product name — the same server-side rendering we use for every Statusentry page.
Automate with the API
The REST API works with every page. Send the page's id in the X-Status-Page-Id header to create incidents or schedule maintenance on that page; without the header, requests go to your main page as before. Existing automations keep working without changes.
A public home page for all your status pages
If you have several pages, you can turn the root of your status page address into a status page directory. Instead of your main page, visitors to yourcompany.statusentry.com (or your main custom domain) see a list of your status pages, each with its current status, and an overall status for everything.
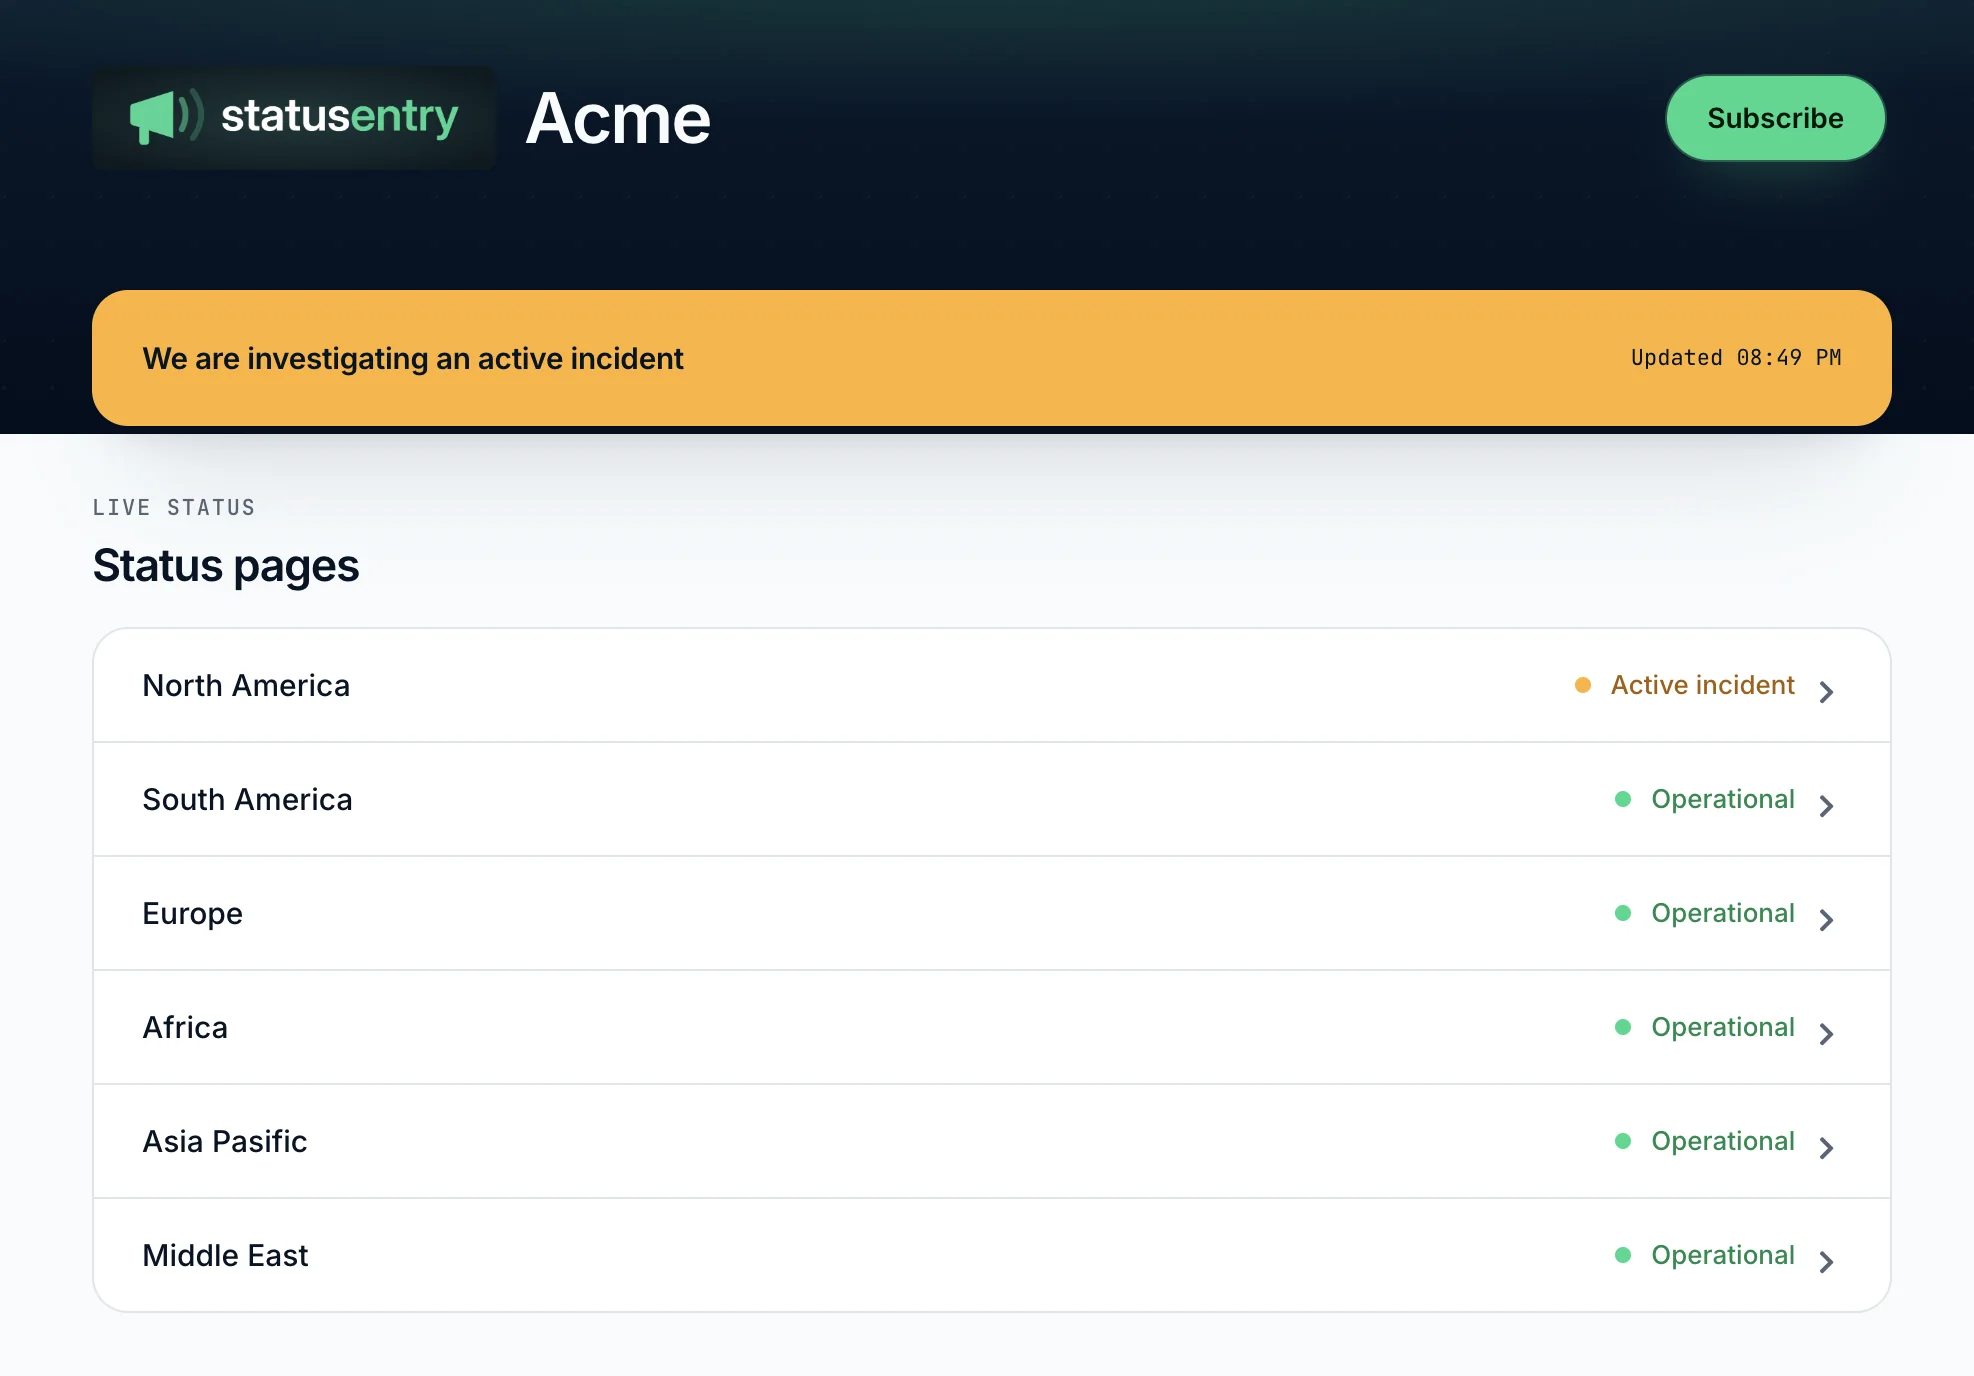
- Live status per page. Each card shows whether that page is operational, degraded, in an outage or under maintenance, based on its open public incidents.
- You choose the order. Drag pages into the order you want, and hide pages you don't want listed. A hidden page still works at its own address.
- Subscribe to several pages at once. Visitors can pick the pages they care about and subscribe by email or webhook in one step. Email subscribers confirm with a single verification email for all selected pages. Slack subscriptions are made on each page.
- Links never break. While the directory is on, your main page moves to a path you pick, such as
/p/platform. Existing incident and maintenance links keep working, and that path keeps working even if you turn the directory off later.
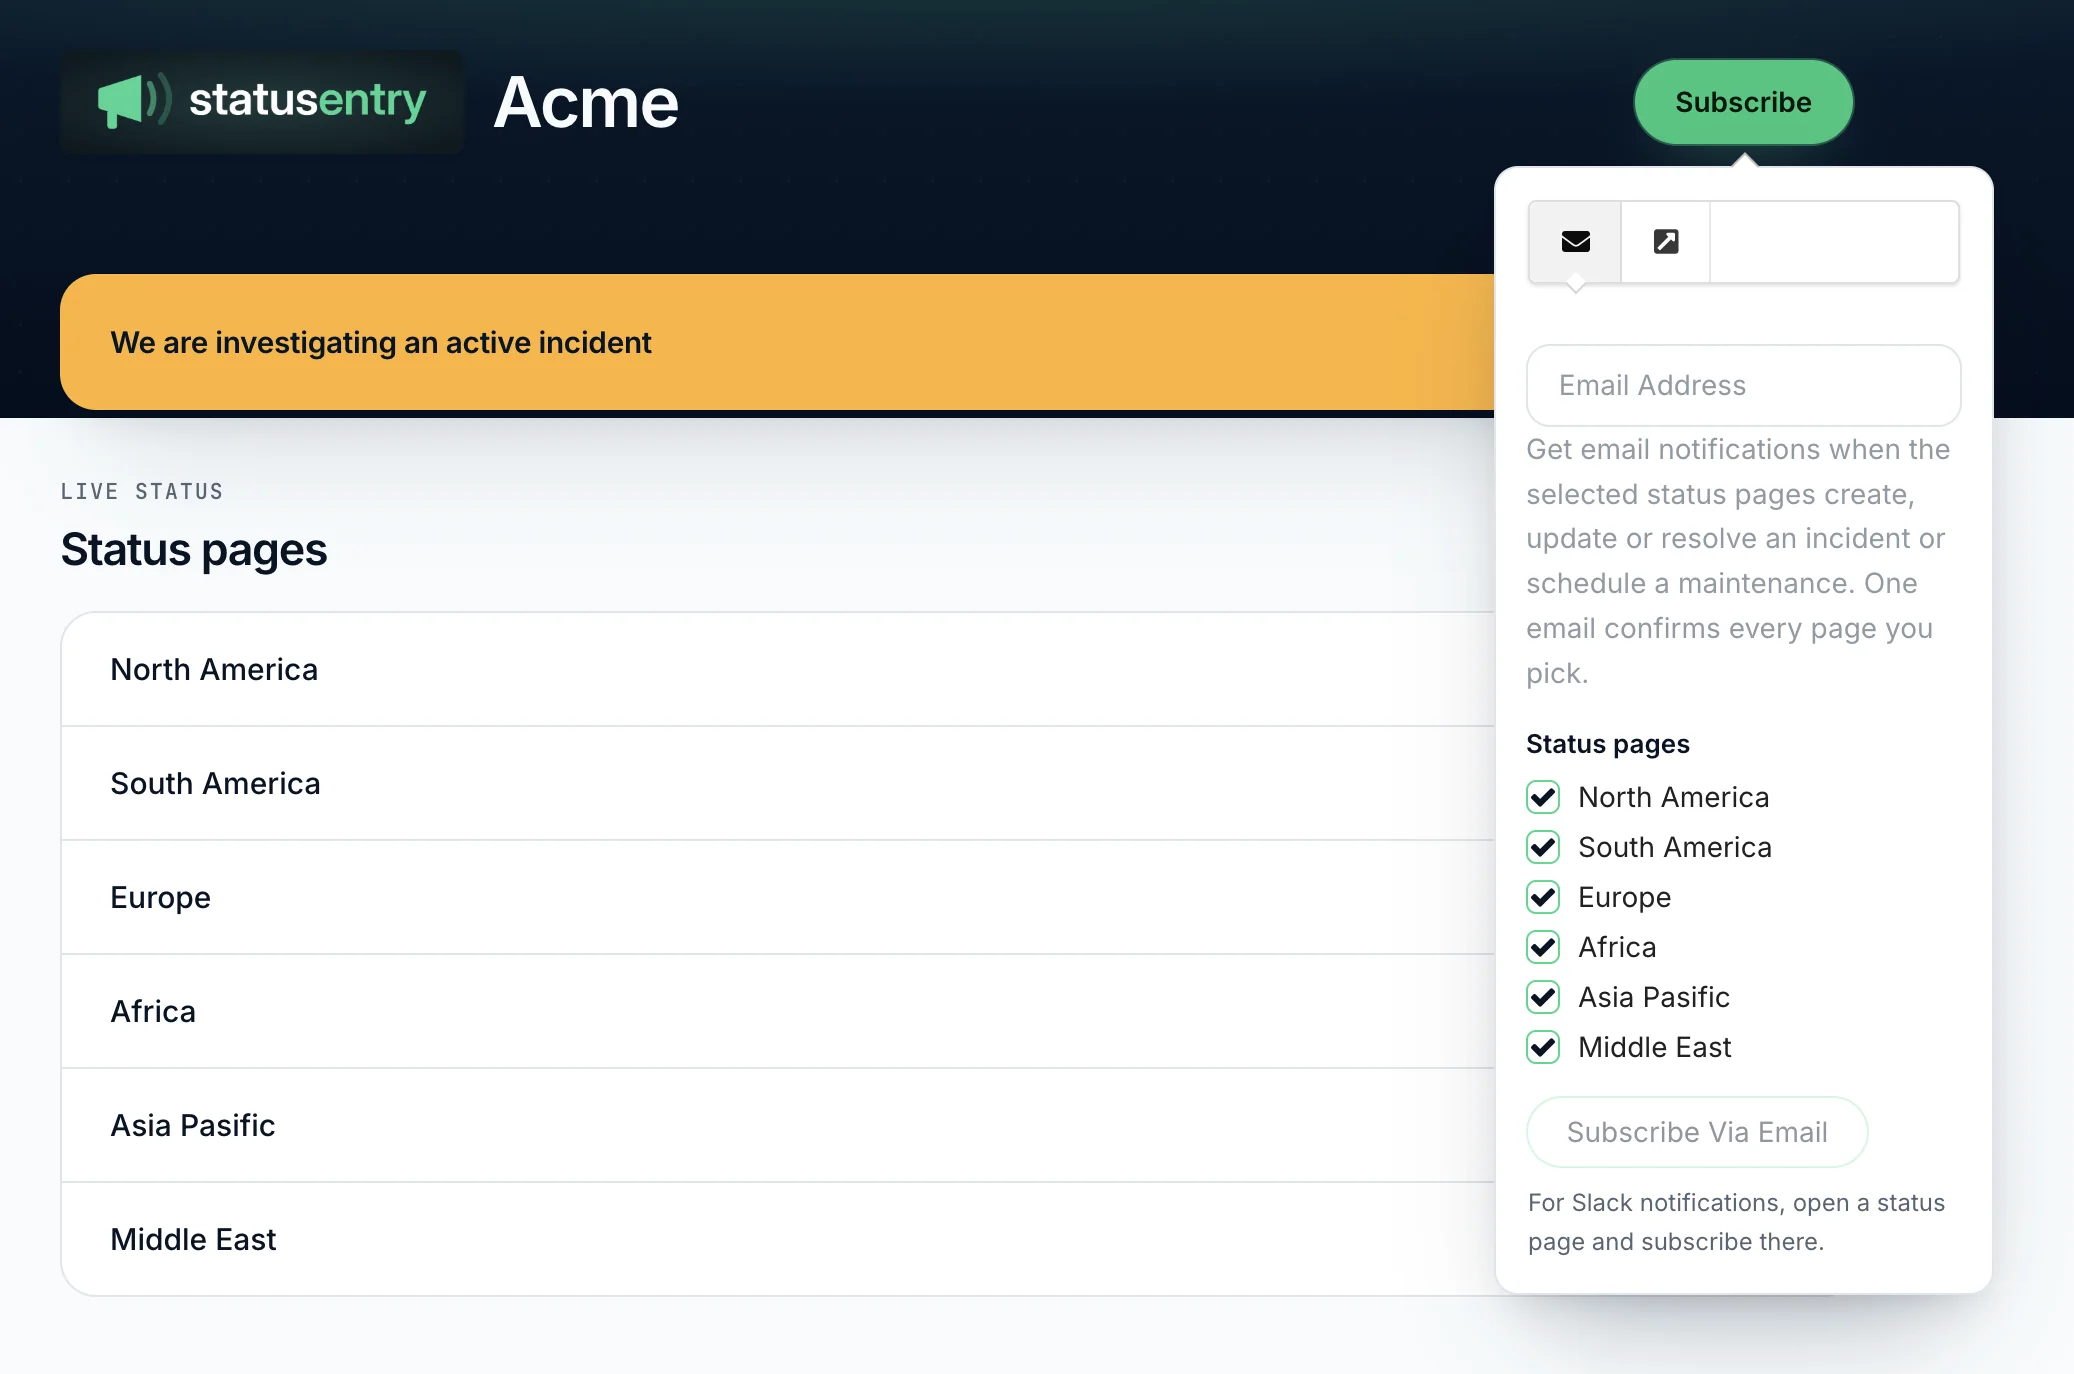
The directory is optional. If you'd rather keep your main page at the root and link to the others yourself, leave it off.
Tips for structuring your pages
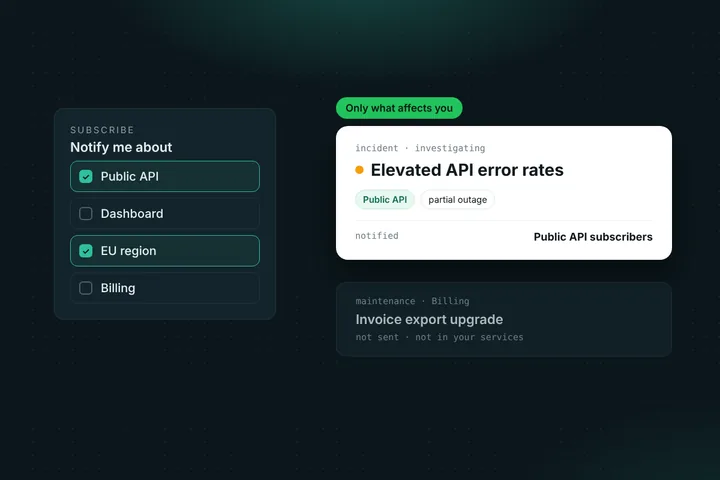
- Split by audience, not by service. If the same customers use your API and your dashboard, keep them on one page and let subscribers follow only what they use with service-based subscriptions. Create a new page when the audience is different.
- Keep paths short and obvious.
/p/euand/p/apiare easier to share in an email or a support reply than long names. - Use the same incident language everywhere. Shared incident templates keep the tone consistent across pages, even when different people post updates.
- Link each product to its own page. Put the right status page link in each product's footer, help center and status badge, so customers land on the page that concerns them.
Plans and pricing
Multiple status pages are available on the Enterprise plan ($39.99/month), which includes your main page, unlimited services, 50,000 subscribers and unlimited team members across all of your pages. Each additional page is $15/month, up to 29 additional pages (30 in total). New accounts start with a 30-day Enterprise trial, no credit card required, which includes 2 additional pages.
If you move to a smaller plan, nothing is deleted. Additional pages stop being shown publicly and their endpoint monitors pause, and your main page keeps working as usual. Upgrade again and they come back as they were.
| Tool | Running several public status pages |
|---|---|
| Atlassian Statuspage | Each page is its own subscription — $29 to $1,499/month per page |
| Better Stack | 1 page included, then $15/month per extra page |
| StatusCake | 5 pages on Silver ($49.95/month), 10 on Gold ($249.96/month) |
| StatusPal | Unlimited pages, plans from $46/month |
| Statusentry | Enterprise $39.99/month with 1 page, then $15/month per extra page (up to 30) |
Get started
- Open Status Pages in the admin panel and click New status page.
- Give it a name and a path, then use the page switcher to add its services, logo and subscribers.
- Optionally connect a custom domain for the new page.
- If you have three or more pages, consider turning on the public home page directory under Status Pages → Public home page.
Don't have an account yet? Create one for free and try multiple status pages during your 30-day Enterprise trial. Questions or a larger setup in mind? Email support@statusentry.com.